Have you ever thought about making your own homemade sugar wax? This article looks at the realm of DIY sugar waxing and determines if it’s a superior option to conventional waxing methods. Learn how to make sugar wax at home simply and efficiently and how it may be possible to obtain hairless, silky skin in the convenience of your own home.
Is Waxing or Sugaring Better?
When it comes to hair removal methods, both waxing and sugaring are popular options. Which is superior, however? Waxing contains a resin-based wax that sticks to the skin as well as the hair. On the other hand, sugar wax uses a paste made from sugar, water, and lemon juice, which only sticks to the hair. Thus, sugar wax provides a gentle option for sensitive skin.
In the end, everything depends on your choices and skin type. While some find the sugar less painful and unpleasant than traditional methods, others like the familiarity and efficacy of waxing.
Can You Sugar Wax at Home?
Of course! One of the biggest benefits of making your own sugar wax at home is that it can be made easily by using basic items from your kitchen cupboard. Say goodbye to costly salon visits and welcome to cost-effective, DIY hair removal.
Is it Simple to Make Sugar Wax at Home?
Yes, even for beginners, sugaring at home is surprisingly simple. You may quickly become an expert in the craft of sugar waxing with just a few basic materials and some practice. Moreover, sugar wax is easily cleaned with water as it is water-soluble.
Sugar Wax Ingredients:
To make sugar wax at home, you’ll need:
Sugar: Granulated white sugar is the best way to make sugar wax
Water: The presence of water helps in the sugar’s dissolution
Lemon Juice: Fresh lime juice gives the wax a delightful aroma and keeps the sugar from crystallizing. A saucepan: To mix and boil the mixture
A spoon: To stir well
How Do You Make Sugar Wax?
The procedure to make sugar wax at home is simple:
#1: Mixing the Ingredients
Put two teaspoons of lemon juice, two tablespoons of water, and one cup of granulated sugar in a pot. Stir the mixture well with a wooden spoon to make sure the sugar is completely dissolved.
#2: Heating the Mixture
Then place the pan on medium heat and bring the mixture to a boil. When it starts to boil, lower the heat to a simmer and let it cook for 12–15 minutes, or until the mixture turns a golden caramel color. Make sure to stir from time to time to avoid scorching.
#3: Testing the Consistency
Put a tiny bit of your sugar wax into a dish of cold water to see how thick it is. It should form a soft, pliable ball that maintains its shape. If the mixture is sticky, then continue heating and simmering it for a few more minutes and testing again.
#4: Allow the Wax to Cool
After the consistency is what you want, take the saucepan off the burner and give the wax a few minutes to cool. It should be just warm enough to spread easily without burning your skin.
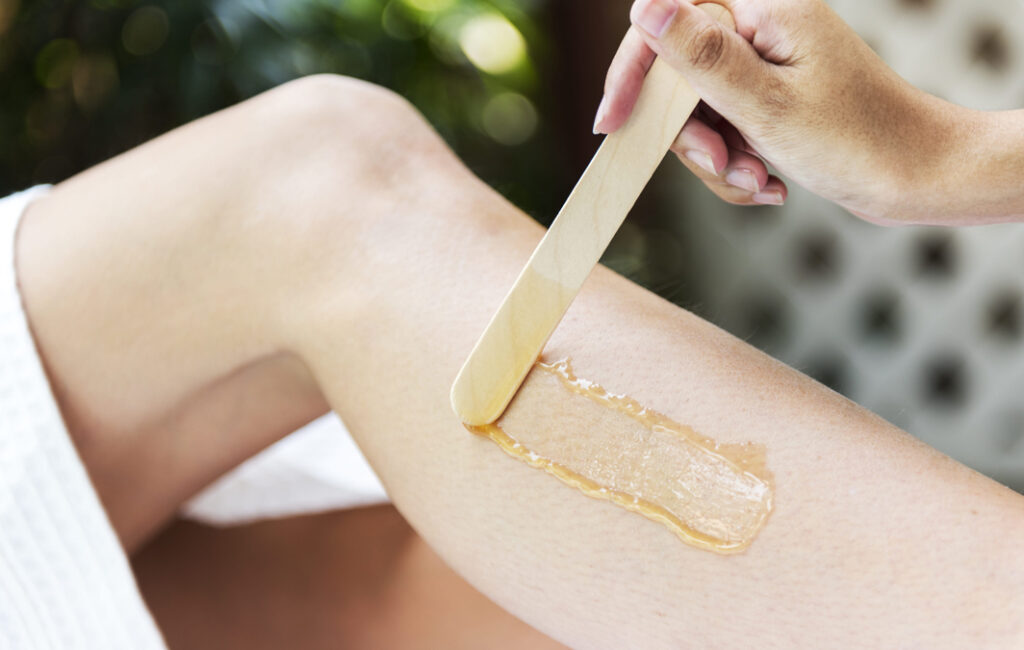
#5: Applying the Wax
Apply a thin layer of wax with a wooden spatula or fingers, following the direction of hair development, to the desired region. A cotton or muslin strip should be forcefully pressed onto the wax. Then quickly pull it off the strip in the opposite direction of hair growth. Make sure to keep the strip as close to the skin as possible.
How to Use DIY Make Sugar Wax:
1. Prepare Your Skin:
Make sure your skin is dry and clean before using sugar wax. The wax’s ability to stick to the hair may be reduced if you moisturize or apply any oils to your skin.
2. Heat the Wax:
To get your sugar wax to a spreadable consistency, heat it if it has set. To do this, microwave the wax for 30-second bursts until it takes on the consistency of warm honey. As an alternative, you can put the container in hot water to set down it slowly
3. Check the Temperature:
Make sure the wax isn’t too hot and won’t burn by testing the temperature on a tiny piece of skin before applying it to a larger area.
4. Apply the Wax:
Scoop up a little quantity of sugar wax and spread it thinly in the direction that hair grows, using a spatula or your fingers. Make sure the area you wish to remove hair from is covered with a uniform coating of wax.
5. Flick and Remove:
Once it has cooled and somewhat solidified (though it is still malleable), using your fingers, flick the edge of the wax to create a tab. With one hand, hold the skin taut while swiftly removing the tab parallel to the skin and in the opposite direction of the hair’s development. This quick pulling motion helps in hair removal from the root.
6. Repeat if Needed
Apply and remove the wax in tiny parts until all the undesirable hair has been removed. To keep the wax at the appropriate consistency, warm it gradually if needed.
7. Clean Up:
Use warm water to remove any remaining wax from your skin after waxing. For assistance in getting rid of any sticky remains, you can also apply a mild oil, like coconut or olive oil.
8. Moisturize:
To hydrate the skin and lessen redness, use a soothing moisturizer after waxing. Products with strong chemicals or perfumes should be avoided since they could irritate skin that has just been waxed.
Where Can You Use Sugar Wax?
You can use sugar wax on various parts of the body to effectively remove unwanted hair. Here’s a breakdown of where you can use sugar wax:
1. Legs:
2. Arms:
3. Underarms:
4. Bikini Area:
5. Face (with caution):
Although sugar wax may be applied to facial hair, care must be taken when doing so, particularly on delicate regions like the eyebrows or upper lip. Make sure to test a tiny area of skin beforehand, and keep wax away from your eyes.
The Final Takeaway:
Making sugar wax at home is a cost-effective and convenient alternative to traditional waxing methods. With just a few simple ingredients and some practice, you can achieve smooth, hair-free skin without ever leaving your house. Give it a try and experience the benefits of DIY sugar waxing for yourself!